How to Authenticate Users with MetaMask using Python and Django
Introduction
In this tutorial, we show you how to create a full-stack Django app that allows users to log in using their Web3 wallets, and Django will create a session associated with the individual user. Once logged in, the user can visit a page that displays all their user data.
You can find the repository with the final code here.


Prerequisites
- Create a Moralis account.
- Install Python 3 (in case you don't already have it). In this tutorial, we used Python 3.10 on a Windows system.
- Basic Django knowledge (Django documentation).
Installing Required Dependencies
- Create a virtual environment if needed:
python3 -m venv django_web3_auth_env. - Install
djangoandrequestsdependencies. Django version 4.1 was used for this tutorial:(These commands, for example,- `django_web3_auth_env\Scripts>pip3.10.exe install django`.
- `django_web3_auth_env\Scripts>pip3.10.exe install requests`.pip3.10.exe install django, are meant to be executed in that specific Scripts folder from that virtual environment.)
Creating a Django Project and App
- Create the Django project:
django_web3_auth_env\Scripts\django-admin startproject moralis_authanddjango-adminwill be found in theScriptsfolder:django_web3_auth_env\Scripts\django-admin.exe.
- Create the Django app:
django_web3_auth_env\Scripts\python.exe manage.py startapp web3_auth.- You can move that newly created app folder named
web3_authinto the same folder where themoralis_authproject is in - the same folder wheremanage.pyis located.
- Run database migrations:
django_web3_auth_env\Scripts\python.exe manage.py migrate. Here, you will have to use the complete path that points to the Python executable in the newly created virtual environment.
- Create a super user (it can be used in the Django admin interface); it is optional:
django_web3_auth_env\Scripts\python.exe manage.py createsuperuser. Here, you will have to use the complete path that points to the Python executable in the new created virtual environment.
Edit moralis_auth Project Settings
- Add the newly created app named
web3_authto the list of installed apps insettings.pyat the end of theINSTALLED_APPSlist:
INSTALLED_APPS = [
    'django.contrib.admin',
    'django.contrib.auth',
    'django.contrib.contenttypes',
    'django.contrib.sessions',
    'django.contrib.messages',
    'django.contrib.staticfiles',
    'web3_auth'
]
- Include URLs from the newly created app in the new project (here, we also added the URLs from
django.contrib.auth.urlsto be able to use the log-out functionality):
from django.contrib import admin
from django.urls import path, include

urlpatterns = [
    path('admin/', admin.site.urls),
    path('web3_auth/', include('web3_auth.urls')),
    path('auth/', include('django.contrib.auth.urls')),
]
Creating the Main web3_auth Application (urls.py, views.py, and Templates)
- The contents for
urls.py(you will have to create this file):
from django.urls import path

from . import views

urlpatterns = [
    path('moralis_auth', views.moralis_auth, name='moralis_auth'),
    path('request_message', views.request_message, name='request_message'),
    path('my_profile', views.my_profile, name='my_profile'),
    path('verify_message', views.verify_message, name='verify_message')
]
moralis_authwill contain the data from where a user can authenticate.request_messagewill make a request to the Moralis Auth API for a message to be signed.my_profilewill show current profile info for a user when authenticated.verify_messagewill be used to verify a message that was signed.
- The contents for
views.py(you will need to set your Web3 API key on line nine [API_KEY = 'WEB3_API_KEY_HERE']):
import json
import requests

from django.shortcuts import render, redirect
from django.http import HttpResponse, JsonResponse
from django.contrib.auth import authenticate, login
from django.contrib.auth.models import User
from datetime import datetime, timedelta, timezone

API_KEY = 'WEB3_API_KEY_HERE'
# this is a check to make sure the API key was set
# you have to set the API key only in line 9 above
# you don't have to change the next line
if API_KEY == 'WEB3_API_KEY_HERE':
    print("API key is not set")
    raise SystemExit


def moralis_auth(request):
    return render(request, 'login.html', {})

def my_profile(request):
    return render(request, 'profile.html', {})

def request_message(request):
    data = json.loads(request.body)
    print(data)

    #setting request expiration time to 1 minute after the present->
    present = datetime.now(timezone.utc)
    present_plus_one_m = present + timedelta(minutes=1)
    expirationTime = str(present_plus_one_m.isoformat())
    expirationTime = str(expirationTime[:-6]) + 'Z'

    REQUEST_URL = 'https://authapi.moralis.io/challenge/request/evm'
    request_object = {
      "domain": "defi.finance",
      "chainId": 1,
      "address": data['address'],
      "statement": "Please confirm",
      "uri": "https://defi.finance/",
      "expirationTime": expirationTime,
      "notBefore": "2020-01-01T00:00:00.000Z",
      "timeout": 15
    }
    x = requests.post(
        REQUEST_URL,
        json=request_object,
        headers={'X-API-KEY': API_KEY})

    return JsonResponse(json.loads(x.text))


def verify_message(request):
    data = json.loads(request.body)
    print(data)

    REQUEST_URL = 'https://authapi.moralis.io/challenge/verify/evm'
    x = requests.post(
        REQUEST_URL,
        json=data,
        headers={'X-API-KEY': API_KEY})
    print(json.loads(x.text))
    print(x.status_code)
    if x.status_code == 201:
        # user can authenticate
        eth_address=json.loads(x.text).get('address')
        print("eth address", eth_address)
        try:
            user = User.objects.get(username=eth_address)
        except User.DoesNotExist:
            user = User(username=eth_address)
            user.is_staff = False
            user.is_superuser = False
            user.save()
        if user is not None:
            if user.is_active:
                login(request, user)
                request.session['auth_info'] = data
                request.session['verified_data'] = json.loads(x.text)
                return JsonResponse({'user': user.username})
            else:
                return JsonResponse({'error': 'account disabled'})
    else:
        return JsonResponse(json.loads(x.text))
Here we have a view for the main authentication: moralis_auth; one view to display the profile info: my_profile; and two views specific to authentication: request_message and verify_message. Furthermore, verify_message will request a message from the Moralis Auth API that will be signed with MetaMask, and verify_message will validate the received signature and create a user when the validation succeeds. After that, a session is created for that user, and we can add additional info in that session, such as the data that was used specifically for authentication.
- Templates (you will have to create a folder named templates):
login.html, this template contains all the JavaScript code required to sign a message with MetaMask:
<!DOCTYPE html>
<html lang="en">
<head>
    <meta charset="UTF-8">
    <meta http-equiv="X-UA-Compatible" content="IE=edge">
    <meta name="viewport" content="width=device-width, initial-scale=1.0">
    <title>Moralis Auth Django Demo</title>
</head>
<body>
    <div>

    {% if user.is_authenticated %}
        <h1>Welcome Moralis Web3 User, {{ user.username }} !</h1>
        <a href="{% url 'logout' %}?next={% url 'moralis_auth' %}">Logout</a>
        <br/>
        <a href="{% url 'my_profile' %}"> My profile </a>
    {% else %}
        <h1>Moralis Web3 Login Django demo</h1>
        <button class="btn" id="auth-metamask">Login with Moralis Web3 API</button>
    {% endif %}
    </div>

    <script src="https://cdn.jsdelivr.net/npm/axios/dist/axios.min.js"></script>
    <script src="https://cdn.ethers.io/lib/ethers-5.2.umd.min.js" type="application/javascript"></script>

    {% if user.is_authenticated %}
    {% else %}
    <script>
    const elBtnMetamask = document.getElementById('auth-metamask');

    const handleApiPost = async (endpoint, params) => {
      const result = await axios.post(`${endpoint}`, params, {
        headers: {
          'Content-Type': 'application/json',
          "X-CSRFToken": '{{ csrf_token }}'
        },
      });

      return result.data;
    };

    const requestMessage = (account, chain) =>
      handleApiPost('{% url 'request_message' %}', {
        address: account,
        chain: chain,
        network: 'evm',
      });

    const verifyMessage = (message, signature) =>
      handleApiPost('{% url 'verify_message' %}', {
        message,
        signature,
        network: 'evm',
      });

    const connectToMetamask = async () => {
      const provider = new ethers.providers.Web3Provider(window.ethereum, 'any');

      const [accounts, chainId] = await Promise.all([
        provider.send('eth_requestAccounts', []),
        provider.send('eth_chainId', []),
      ]);

      const signer = provider.getSigner();
      return { signer, chain: chainId, account: accounts[0] };
    };

    const handleAuth = async () => {
      // Connect to Metamask
      const { signer, chain, account } = await connectToMetamask();
      console.log("account", account, "chain", chain)

      if (!account) {
        throw new Error('No account found');
      }
      if (!chain) {
        throw new Error('No chain found');
      }

      const { message } = await requestMessage(account, chain);
      const signature = await signer.signMessage(message);
      const { user } = await verifyMessage(message, signature);
      console.log(user)
      if (user) {
        location.reload();
      }
      else{
        alert("authentication error")
      }
    };


    function init() {
      elBtnMetamask.addEventListener('click', async () => {
        handleAuth().catch((error) => console.log(error));
      });
    }

    window.addEventListener('load', () => {
      init();
    });

    </script>
    {% endif %}
</body>
</html>
profile.html, this template only shows current info associated with an authenticated user:
<!DOCTYPE html>
<html lang="en">
<head>
    <meta charset="UTF-8">
    <meta http-equiv="X-UA-Compatible" content="IE=edge">
    <meta name="viewport" content="width=device-width, initial-scale=1.0">
    <title>Moralis Auth Django Profile Page Demo</title>
</head>
<body>
    <div>

    {% if user.is_authenticated %}
        <h1>Eth address: {{ user.username }}</h1>
        <h3>Session auth info</h3>
        <table width="200px" border="0px" padding="5px">
        {% for key,value in request.session.auth_info.items %}
            <tr><td>{{key}}</td><td><pre>{{ value }}</pre></td></tr>
        {% endfor %}
        </table>
        <table width="200px" border="0px" padding="0px">
        <h3>Verified user info</h3>
        {% for key,value in request.session.verified_data.items %}
            <tr><td>{{key}}</td><td>{{ value }}</td></tr>
        {% endfor %}

        </table>
        <br/>
        <a href="{% url 'logout' %}?next={% url 'moralis_auth' %}">Logout</a>
    {% else %}
        <a href="{% url 'moralis_auth' %}"> Login page </a>
    {% endif %}
    </div>

</body>
</html>
Starting the Application
django_web3_auth_env\Scripts\python.exe manage.py runserver 1000(this will start a local server on port 1000).
After the application starts, this is how it should look when you access http://127.0.0.1:1000/web3_auth/moralis_auth:

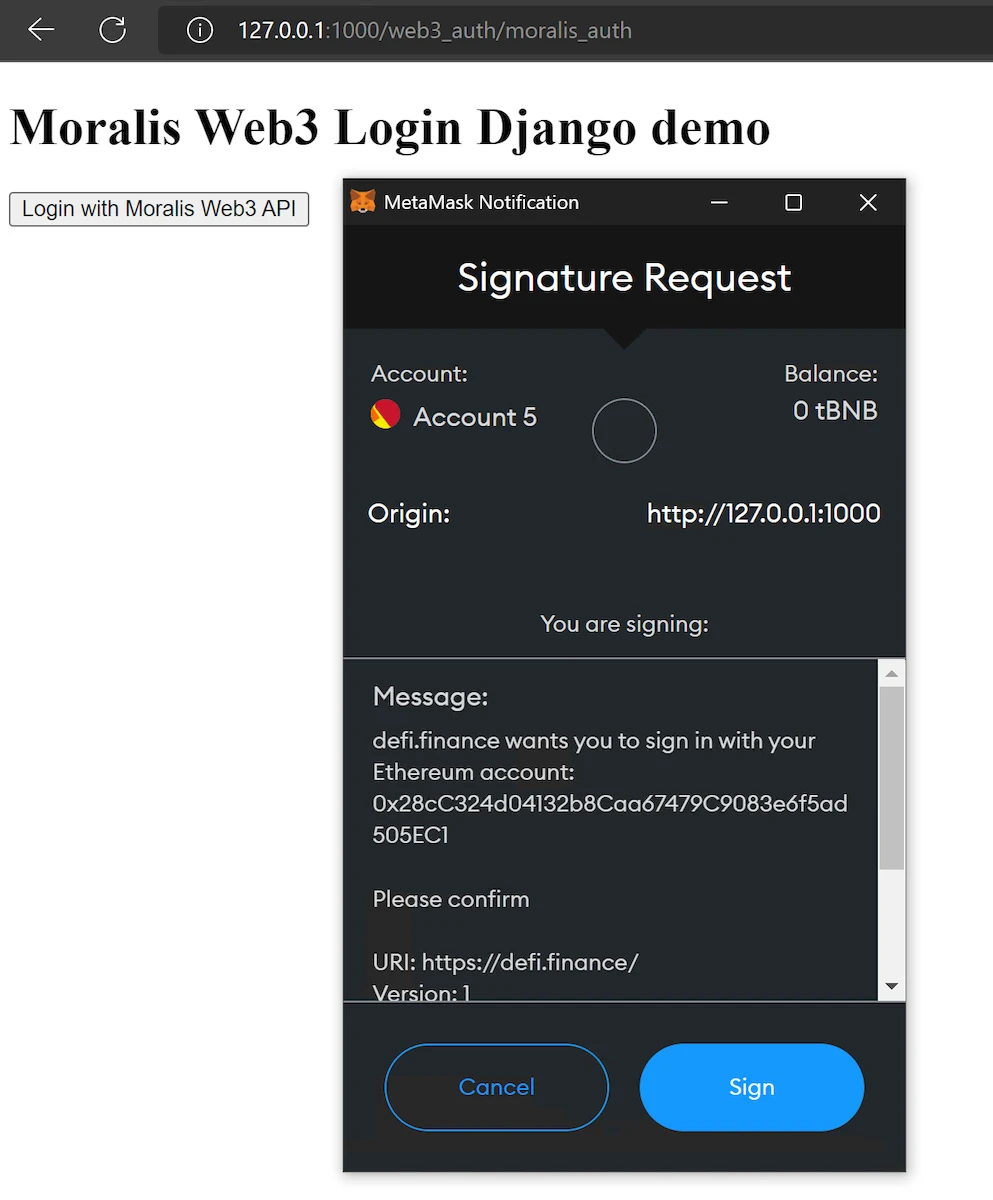
This will show when clicking on the above "login" button:

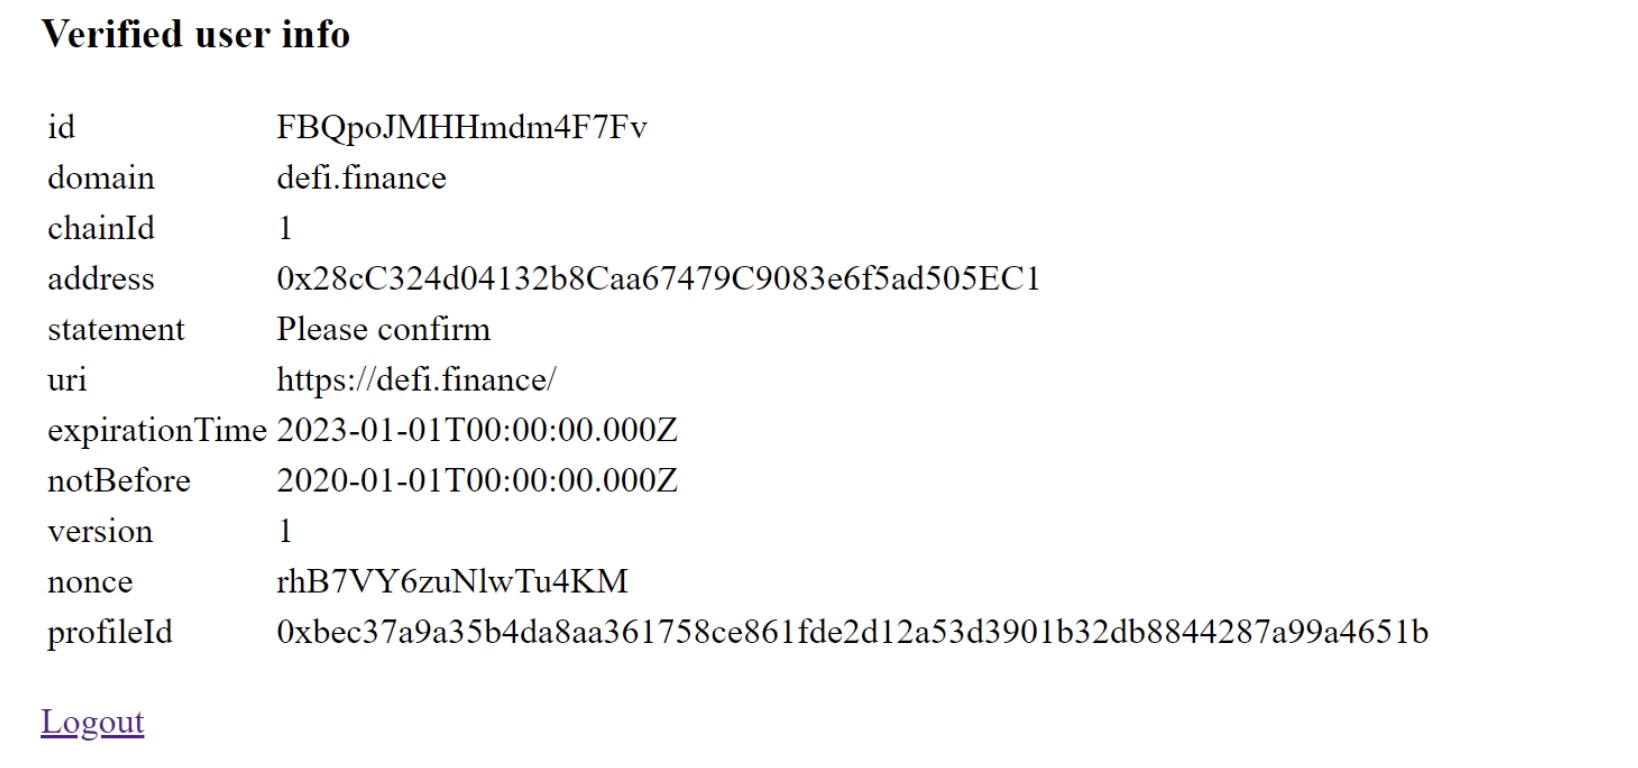
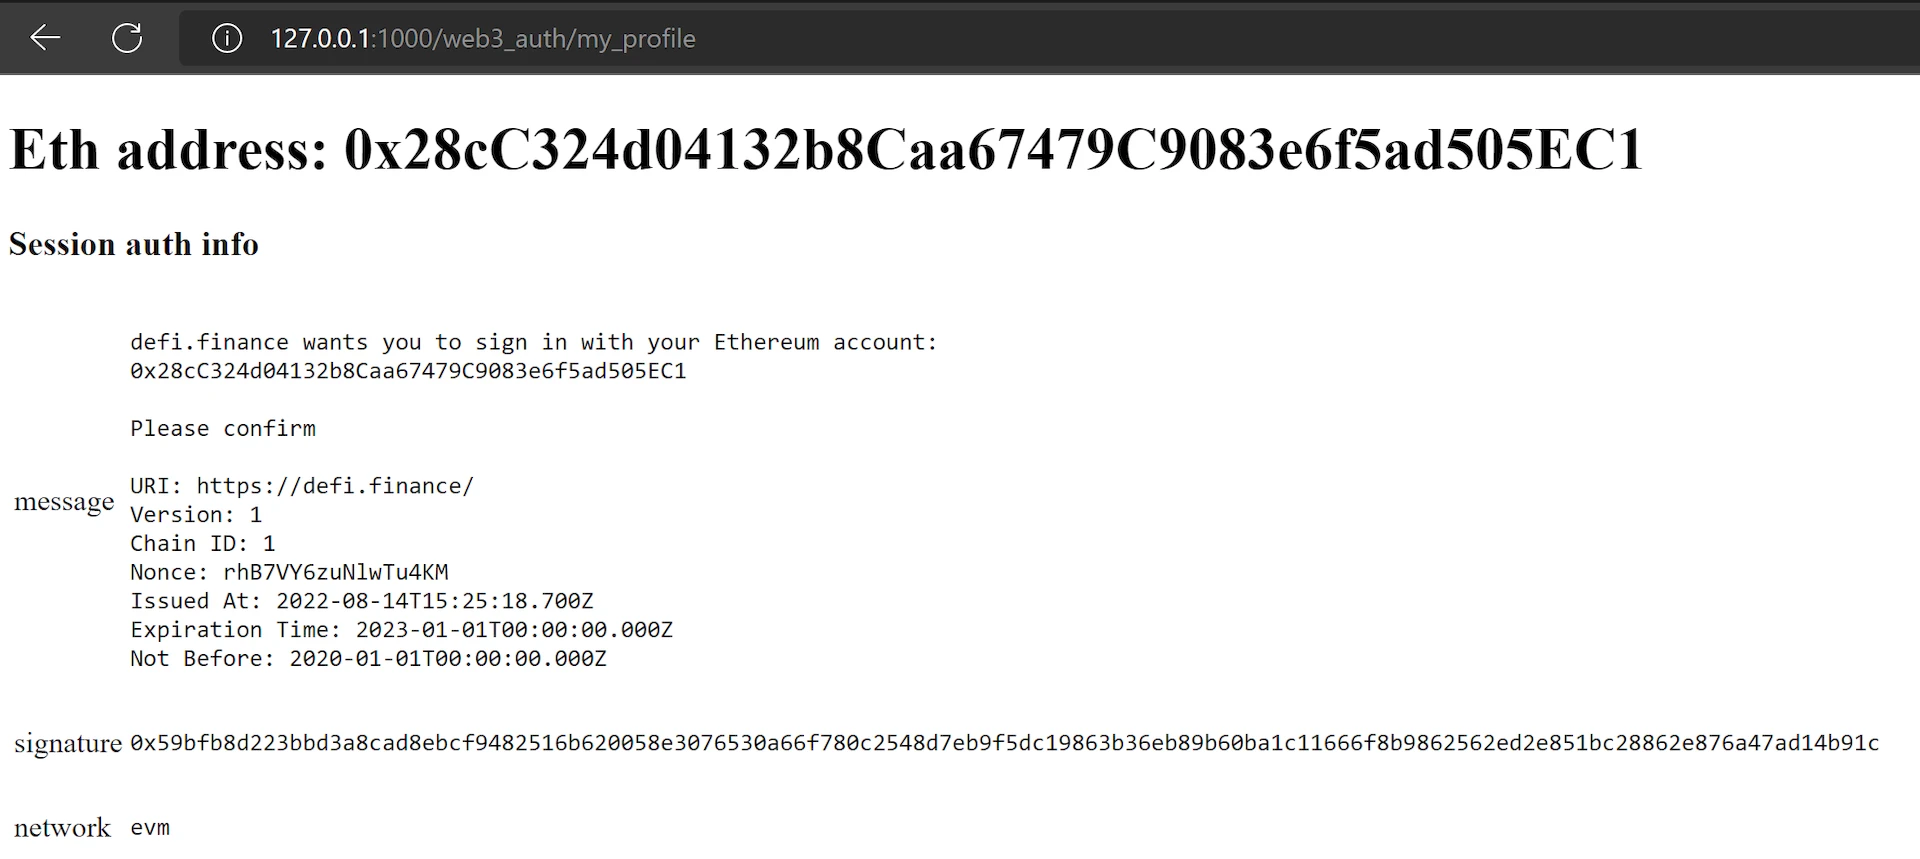
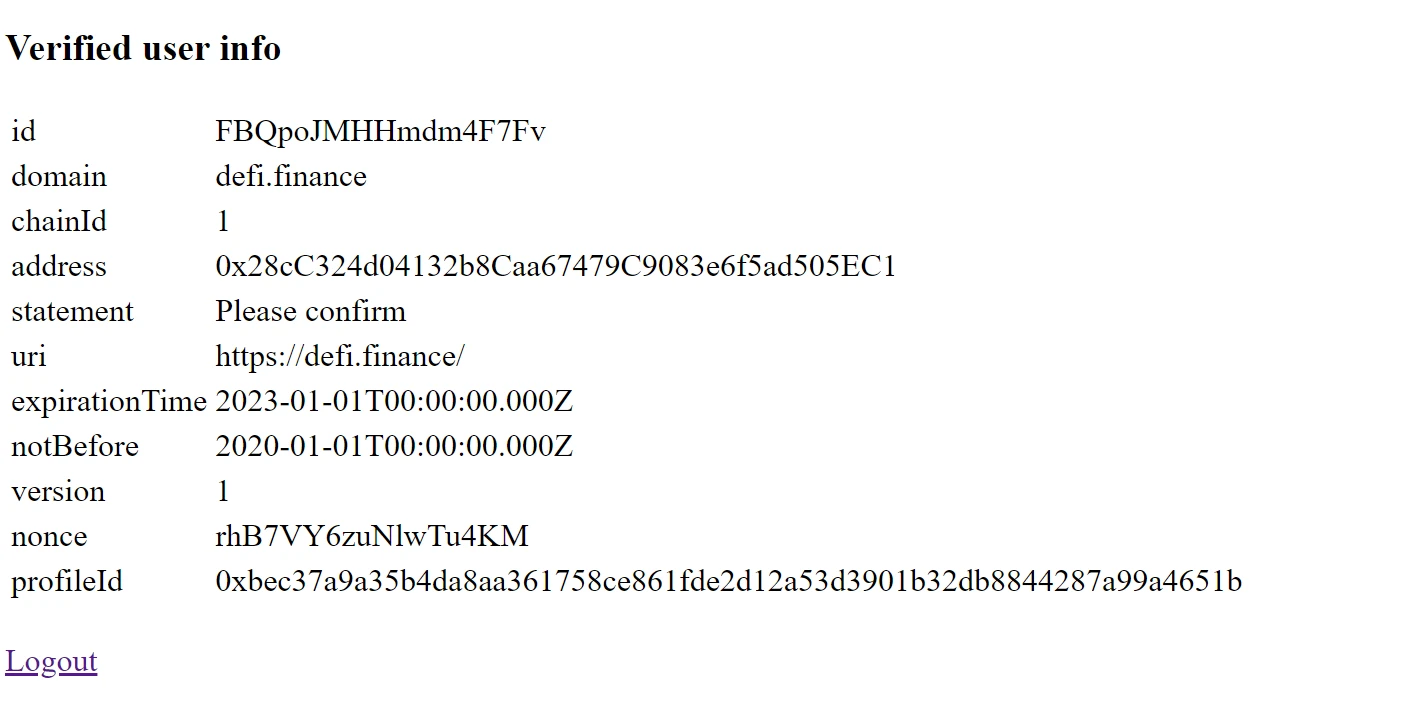
After the message is signed and the authentication is successful, you can see the complete profile page:

